Azure Service Bus provides many ways to setup different access levels for all types of things like the bus itself, queues, topics or subscriptions. In this post some of the ways to configure the different access levels for a queue sender will be shown.
In this demo we want to allow only send access rights for a specific queue on the bus. This would be used by a third party application which should have no further access rights for any of the other services on the bus.
Code https://github.com/damienbod/AspNetCoreServiceBus
Posts in this Series:
- Using Azure Service Bus Queues with ASP.NET Core Services
- Using Azure Service Bus Topics in ASP.NET Core
- Using Azure Service Bus Topics Subscription Filters in ASP.NET Core
- Using Entity Framework Core to process Azure Service Messages in ASP.NET Core
- Using an Azure Service Bus Topic Subscription in an Azure Function
- Using Azure Service Bus with restricted access
History
- 2024-06-30 Updated packages, Azure function
- 2021-05-18 Updated .NET, Azure Service Bus SDK
Setup using Azure CLI
Azure CLI can be used to setup the Azure Service Bus.
Azure CLI docs and download links: https://docs.microsoft.com/en-us/cli/azure/install-azure-cli
When Azure CLI is installed and running, you need to Login.
az login
If the login does not work, you might have to allow your default browser to open the insecure redirect URL to complete the login. For example, when using Chrome, use the following to reset the hsts. Unsecure URLs are required for this Azure az login. Maybe this should be fixed.
chrome://net-internals/#hsts
Now that Azure CLI is running, and you are logged, you can create a new bus for your subscription. Create a new resource group before running and set as required.
Create the bus if needed:
az servicebus namespace create --resource-group damienbod-rg --name damienbod-service-bus --location eastus
Setup the queue and add a shared access policy.
az servicebus queue create --resource-group damienbod-rg --namespace damienbod-service-bus --name myqueue

az servicebus queue authorization-rule create --name myqueuepolicy --namespace-name damienbod-service-bus --queue-name myqueue --resource-group damienbod-rg --rights Send
This could also be setup using the Azure portal UI.
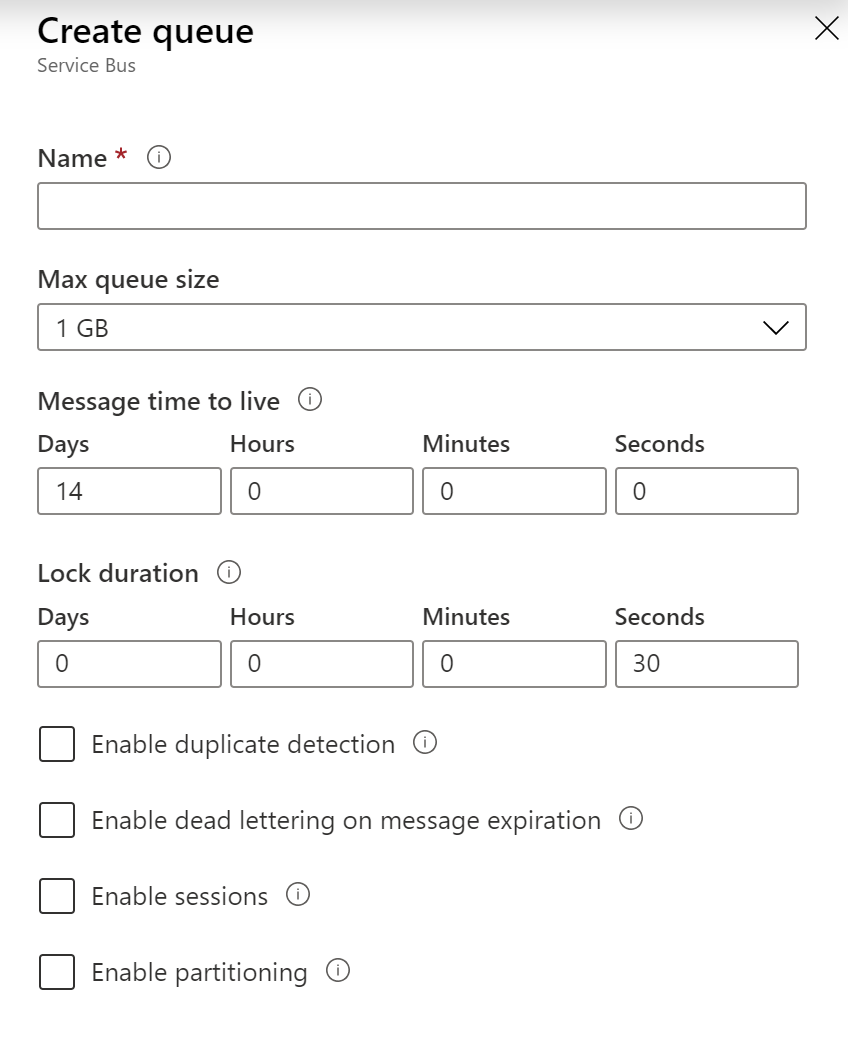
A new queue can be created by clicking the Queues menu in your bus and then Add:
A policy can be added directly to the queue with just the send rights.

Now a simple C# application can be implemented which sends messages to the queue.
Add the Microsoft.Azure.ServiceBus NuGet package to new console project:
<Project Sdk="Microsoft.NET.Sdk">

  <PropertyGroup>
    <OutputType>Exe</OutputType>
    <TargetFramework>net5.0</TargetFramework>
  </PropertyGroup>

  <ItemGroup>
	  <PackageReference Include="Azure.Messaging.ServiceBus" Version="7.1.2" />
  </ItemGroup>

</Project>
Now add a simple queue sender client:
class Program
{
	private static string ConnectionStringQueueBus = "your connection string";
	private static ServiceBusClient _client;
	private static ServiceBusSender _clientSender;

	static async Task Main(string[] args)
	{
		_client = new ServiceBusClient(ConnectionStringQueueBus);
		_clientSender = _client.CreateSender("myqueue");

		//string messagePayload = JsonSerializer.Serialize(payload);
		ServiceBusMessage message = new ServiceBusMessage("some message from somewhere");
		await _clientSender.SendMessageAsync(message).ConfigureAwait(false);
	}
}
To get the policy connection string with the reduced access rights, you can go to the Azure portal, open the Service Bus, open the queue from the Queues menu, click the shared access policy menu, Now open the policy you created above. The connection string for this policy can be copied and added to your C# client code.

The messages could be consumed for example in an Azure function. When using Azure functions to consume Azure Service Bus queue messages, the payload needs to be sent in the body.
In an Azure Functions project, a simple Service Bus Queue function can be created. This would consume the messages.
using Microsoft.Azure.WebJobs;
using Microsoft.Extensions.Logging;

namespace FunctionService3
{
    public static class MyQueueFunction
    {
        [FunctionName("MyQueueFunction")]
        public static void Run([ServiceBusTrigger("myqueue", Connection = "ServiceBusConnectionString")]string myQueueItem, ILogger log)
        {
            //throw new Exception("Cannot not process for some reason");
            log.LogInformation($"C# ServiceBus queue trigger function processed message: {myQueueItem}");
        }
    }
}
When the connection strings are set correctly, the messages will be sent and consumed.
Service Bus Explorer
The Service Bus Explorer is a great tool for doing almost anything on your bus. For example, this could be used to manage dead letter messages.
Service Bus Explorer can be downloaded here:
https://github.com/paolosalvatori/ServiceBusExplorer/releases
To demonstrate this, some messages will be sent which cannot be processed and gets sent to the dead letter queue after 10 tries. This can be configured as required. To try this, you could throw an exception in the Azure function which consumes the queue message.
Now open the Service Bus Explorer, fix and resend the messages in the dead letter queue. This is one possible way of dealing with messages in the dead letter queue. This will only work as long as you don’t have too many messages. If you dealing with lots of messages in this dead letter queue, you would need to solve this is a differnet way, for example using code to analyse, fix and resend.
In the explorer UI, click the required queue, and then the Deadletter button and peek.

Now you can fix the messages if required, and resend it to your queue.

Links
https://github.com/paolosalvatori/ServiceBusExplorer/
https://docs.microsoft.com/en-us/cli/azure/install-azure-cli


[…] Using Azure Service Bus with restricted access (Damien Bowden) […]
[…] Using Azure Service Bus with restricted access – Damian Bowden […]
[…] execute destructive operations such as deleting queues. My friend Damien has a great article about restricted access with Azure Service Bus should you wish to dig […]